
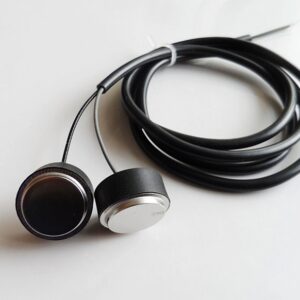
Copper Electrode
The person who assembles the transducer must strictly follow the following process to operate
One: Familiar with the structure of the transducer
Two: The floor of the assembly room must be mopped once a day, smoking is strictly prohibited, and the assembly room is clean
Three: The ceramic piece, the copper piece is lightly ground with 360# metallographic sand, the purpose is to remove the burr on the ceramic piece and the copper piece and measure the flatness of the ceramic piece
Four: The two sides of the transducer assembly and the back pressure plate must be ground to the mirror surface. First polish with water sand and then use 360# metallographic sand to grind to the mirror surface. Use a knife ruler to measure the entire surface without transparency at 30-45°C. It is qualified
Five: Mark + on the periphery of the ceramic chip
Six: first brush the inner diameter of the electricity and the copper sheet to insulate, pay attention to the electrode plane not to be oiled (pre-made)
Seven: Electrode sheet, ceramic sheet, transducer contact surface, the rear gland must be cleaned with acetone before assembling. 2-3 sides shall be wiped with acetone table lens paper until it becomes black or invisible
Eight: Install the electrode sheet, ceramic sheet, gland in order, and the outer circle must be held when holding the device
Nine: Φ50, the pressure of the two-piece transducer is generally 220KG, and the pressure of the four-piece transducer is generally 260KG. The electrode must be short-circuited when pressurizing. Pay attention to the perpendicularity of the ceramic plate and the transducer assembly. Pay attention to the screw length and screw to the end When there is 1mm remaining. The screw must be covered with 0.3mm out-of-print 2-3 layers, pay attention to the verticality of the outer circle in the ceramic sheet
Ten: Test: Two-piece transducer, absolute pulse resistance “=500. The impedance should be less than 10 ohms, and the Φ value should be above 2000. The impedance of the four-piece package should be less than 5 ohms and the Φ value should be more than 1500 (note that the impedance parameter changes slightly with the thickness of the ceramic chip)
Eleven: After all the transducers are assembled and tested, they are put into an oven at 90℃ and bake for 2-3 hours. The electrodes are short-circuited before entering the oven. After 3 hours, when the temperature drops to 60-70℃, brush the ceramic sheet for insulation. Brush the screw gap with 705 glue type silicone
Twelve: After the transducer is aging, before entering the warehouse. Each transducer must have a steel stamp code. Record detailed data. Resonance frequency, anti-resonance frequency, impedance, θ value, capacitance
Thirteen: The link method of the transducer and the horn: connect the two sides with water sand. Grind the metallographic sand (light) with acetone and press firmly to test whether the parameters and node position are correct, and the node position is held tightly with hair blue. The frequency change is less than 50H2, which is qualified.


Reviews
There are no reviews yet.